How to apply microcementWhat happens on site, coat by coat.
And what you can check yourself.
Substrate, mix, coats, drying and sealing. Five steps that repeat on floors, walls and ceilings, with the times set out in our technical data sheets.
Microcement is judged on the day it goes down, not on the day it is chosen. In the shop they all look alike: a bucket of powder, a can of resin and a colour chart. The differences show up on site.
I am an architect and I make Tecnocemento® in Elda, Spain. I repeat a rule I learned on site: the result depends 40% on the substrate, 40% on the hand that applies it and 20% on the product. This article is about the 80% that does not come in the bucket.
Architect · Tomás Amat
Tecnocemento®
I’m looking for an approved applicator in my area
Let’s start underneath: with the substrate.
Before you start, steps 1 and 2The substrate and the mix.
The result: the 40 · 40 · 20 rule
- The substrate. A skin does not correct the body beneath it. It copies it.
- The hand that applies it. The movement of the trowel, the pressure and the order of the passes.
- The product. The only thing that comes in the bucket.
Before you start · What do you need to apply microcement?
A system, not a product.
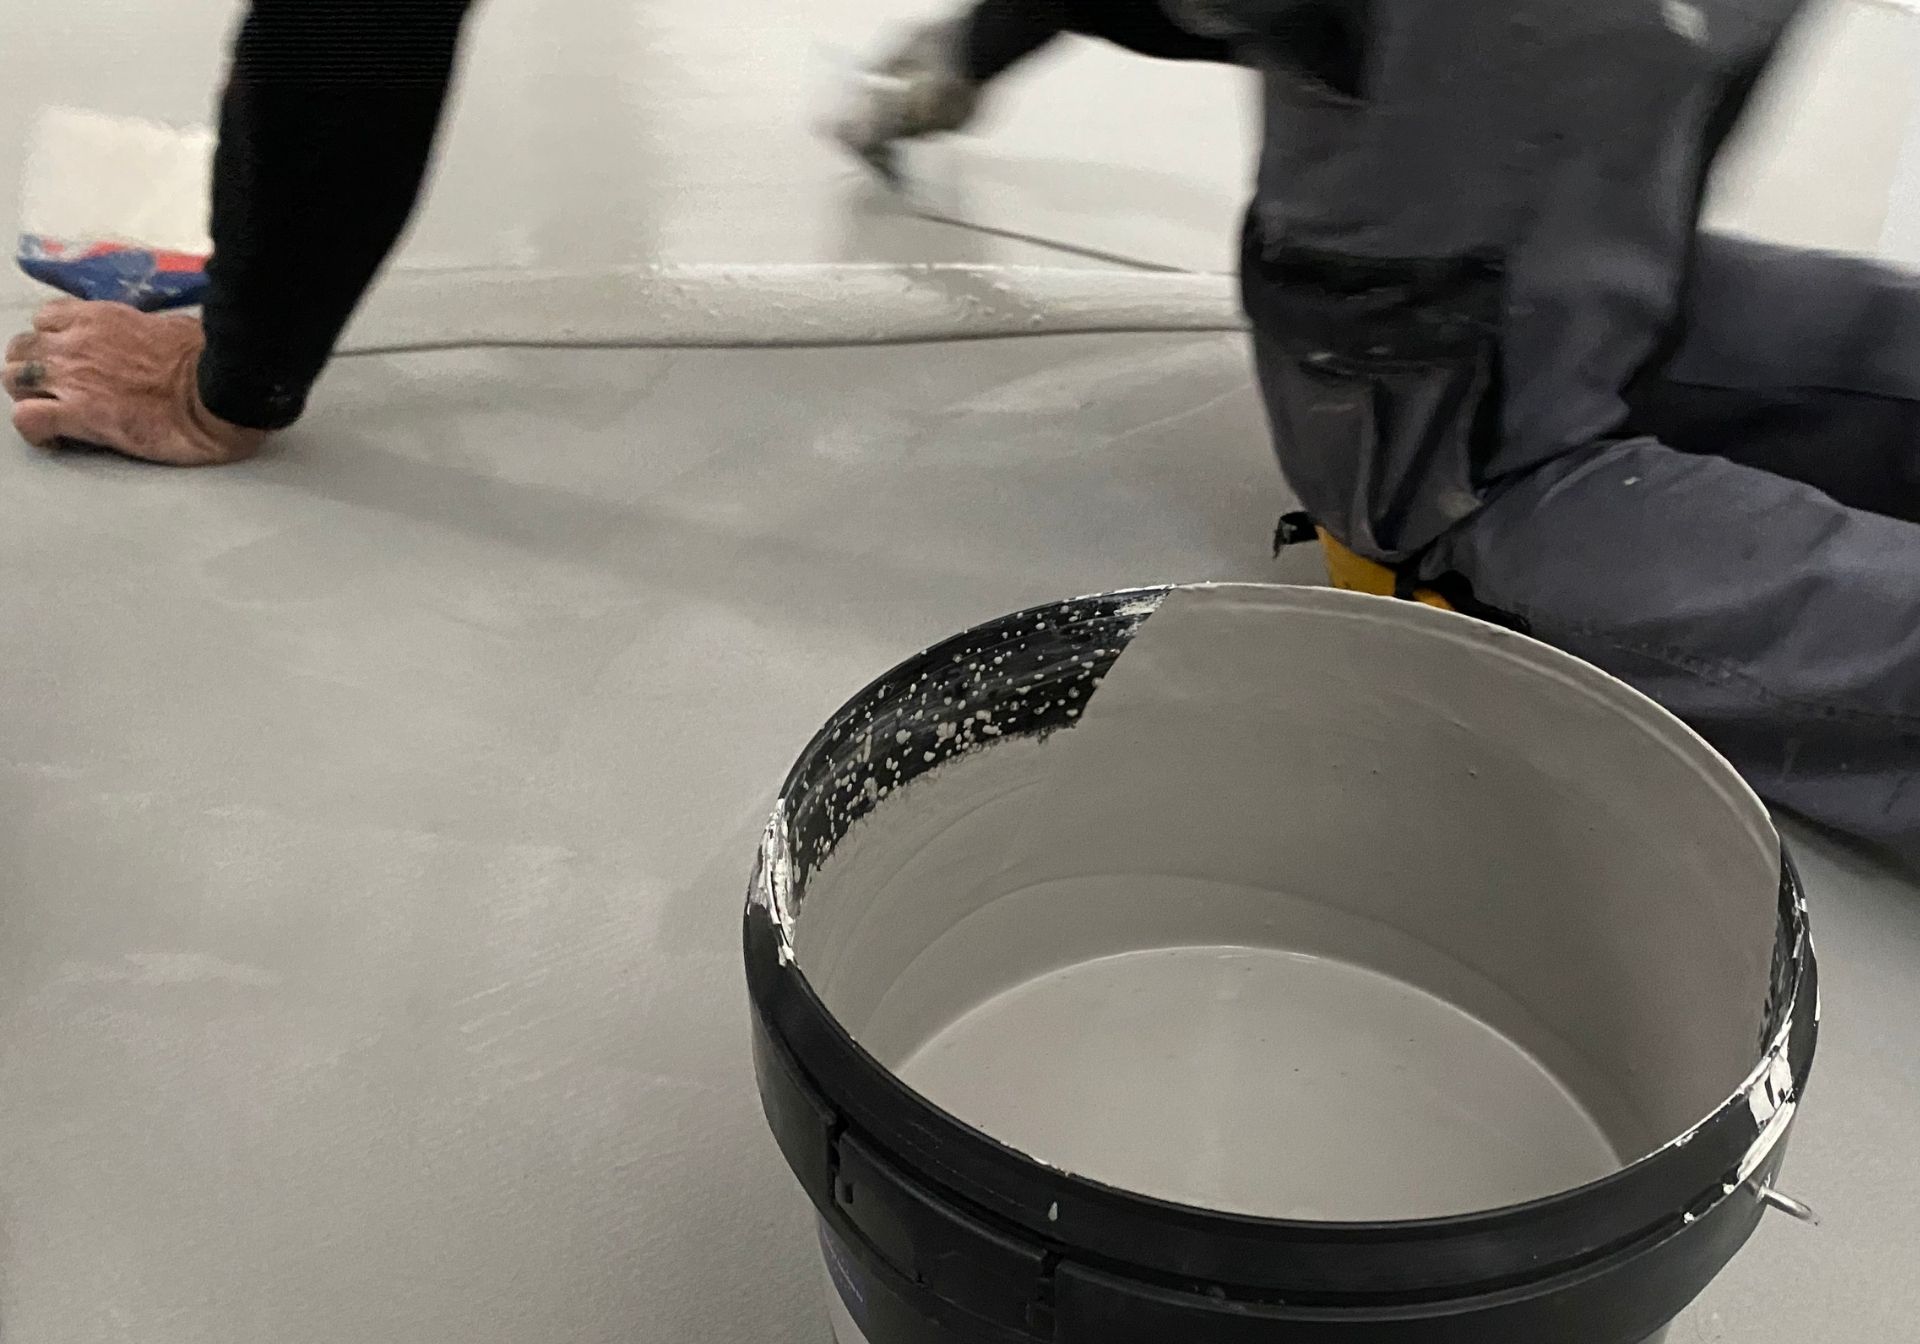
Applying microcement is not painting. It is building, by hand, a 2 to 3 mm skin made of several coats that work together. Each coat has its own product, its own thickness and its own waiting time.
Two-component microcement comes in two containers: a cement-based powder (component A) and a liquid resin (component B). They are mixed on site just before they are spread. That mix gives it hardness and adhesion, and it is also what calls for skill.
For a Tecnocemento plus® system the applicator uses:
- CONSOLIDADOR (substrate consolidator) and, where needed, fibreglass mesh.
- Tecnocemento base® (base coat) and Tecnocemento fino® (fine finishing coat), each with its own resin.
- PRIMER and ACABADO FORTE PLUS (protective sealer).
- Steel trowels in two sizes, a paddle mixer, a sander and 40-, 80- and 180-grit sandpaper.
- A short-pile microfibre roller, masking tape and protective sheeting.
Step 1 · How do you prepare the substrate?
A skin does not correct the body beneath it. It copies it.
If the substrate moves, cracks or holds moisture, the coating will show it sooner or later. A good applicator spends the first visit looking, tapping and measuring.
Soundness. Tap every tile. Any tile that sounds hollow comes out and is replaced.
Cleanliness. Remove release agent, wax, grout residue and poorly bonded paint. If necessary, with pressure washing, sanding, grinding or sandblasting.
Moisture. A damp substrate ruins adhesion. In new builds, screeds and mortars need time to dry before work starts.
Flatness and cracks. Cracks, holes and unevenness are repaired with mortars, self-levelling compounds or fillers before the first coat. Whatever is not corrected today will show tomorrow in raking light.
Movement. Microcement can be applied to concrete, wall tiles, floor tiles, terrazzo and even wood or metal with the right preparation. Not over floorboards that flex.
The system starts with a coat of CONSOLIDADOR, rolled straight onto the substrate. It consolidates the base and stops the substrate drawing water out of the coats that follow. Fibreglass mesh is optional: it is embedded in the first base coat and spreads the stresses so that a small crack below does not reach the surface. It is common on floors.
Two millimetres do not fix a bad substrate. They reveal it.
TECNOCEMENTO PLUS®: the system for floors and walls over existing tiles
Step 2 · How do you mix two-component microcement?
Powder, resin and a ticking clock.
First the resin goes into a clean bucket, the pigment is added and it is mixed. Then the powder goes in little by little until the paste is smooth; it rests for a few minutes to let the air bubbles out and is mixed again.
Each product sets its own ratio: 6 kg of Tecnocemento base® with 1.4 to 1.5 litres of resin, and 6 kg of Tecnocemento fino® with 1.8 to 2.1 litres, depending on the temperature. The resin is acrylic: it contains polymers that give hardness and others that give a degree of flexibility. It is not a rigid monolith; it has to withstand tensile and compressive stresses without breaking.
As soon as the cement meets the resin it starts to react, and that has two consequences you will see in your home. The clock is running: each batch is workable for about 45 minutes, so only what is about to be spread gets mixed. The colour is alive: the pigment is added on site and the final shade varies slightly between batches and areas. It is the most visible difference from a ready-to-use microcement, and it explains why no shade on a chart will be exactly the one in your living room.
The colour on the chart is a reference. The colour in your home comes out of the mix.


Steps 3, 4 and 5Base, finish and sealing.
Step 3 · How many base coats does microcement need?
Two base coats: the body.
Tecnocemento base® has a medium-grade aggregate. It gives body and strength, takes up the irregularities the substrate could not correct and holds the mesh.
The first coat is spread with a large trowel at a thickness matching the aggregate size; while it sets, it is trowelled over to remove imperfections and ridges. The second, once the first is dry, goes on at under 1 mm and leaves the surface flat for the finish.
Each coat uses around 1 kg/m². Between coats you wait 4 to 6 hours, and the finished base is machine-sanded with 40 grit. Before moving on to the finish you wait at least 12 hours.
Step 4 · And the finish coats?
Two finish coats: the skin.
Tecnocemento fino® has a finer aggregate and gives the colour and texture you will see and touch. This is where the visible craft begins: the movement of the trowel, the pressure and the order of the passes create the tonal variation and trowel marks that give microcement its character.
The first coat is very thin and after 4-6 hours it is machine-sanded with 80 grit. The second is spread continuously, with no breaks between batches, because it gives the final texture; after at least 12 hours it is hand-sanded with 180 grit. Each coat uses about 0.35 kg/m².
Two applicators with the same product leave two different floors.
Step 5 · How do you seal microcement?
The coating lasts. The sealer wears.
After the last coat of Tecnocemento fino® you wait 72 hours. Then, with a microfibre roller, one coat of PRIMER goes onto the sanded, clean microcement, or two if it is protected with ACABADO FORTE PLUS. The primer evens out the surface so the sealer bonds equally everywhere.
Once the primer is completely dry, two coats of ACABADO FORTE PLUS. It is clear, seals the pores and protects against water and stains. It wears with use and is reapplied: together with cleaning with pH-neutral products, it is the only real maintenance a well-applied microcement needs.
How long does microcement take to dry?
About four days before sealing.
Drying depends on temperature, ambient humidity and the time of year. A cold, damp day lengthens every stage. These are our reference times:
| Stage | Time |
|---|---|
| Between base coats | 4-6 hours |
| From base to finish | At least 12 hours |
| Between finish coats | 4-6 hours |
| From the last coat to sealing | 72 hours |
| Light foot traffic, after sealing | 12 hours |
| Furniture and normal use, after sealing | 48 hours |
Cutting waiting times is the most expensive mistake: the next coat traps the moisture of the one before.


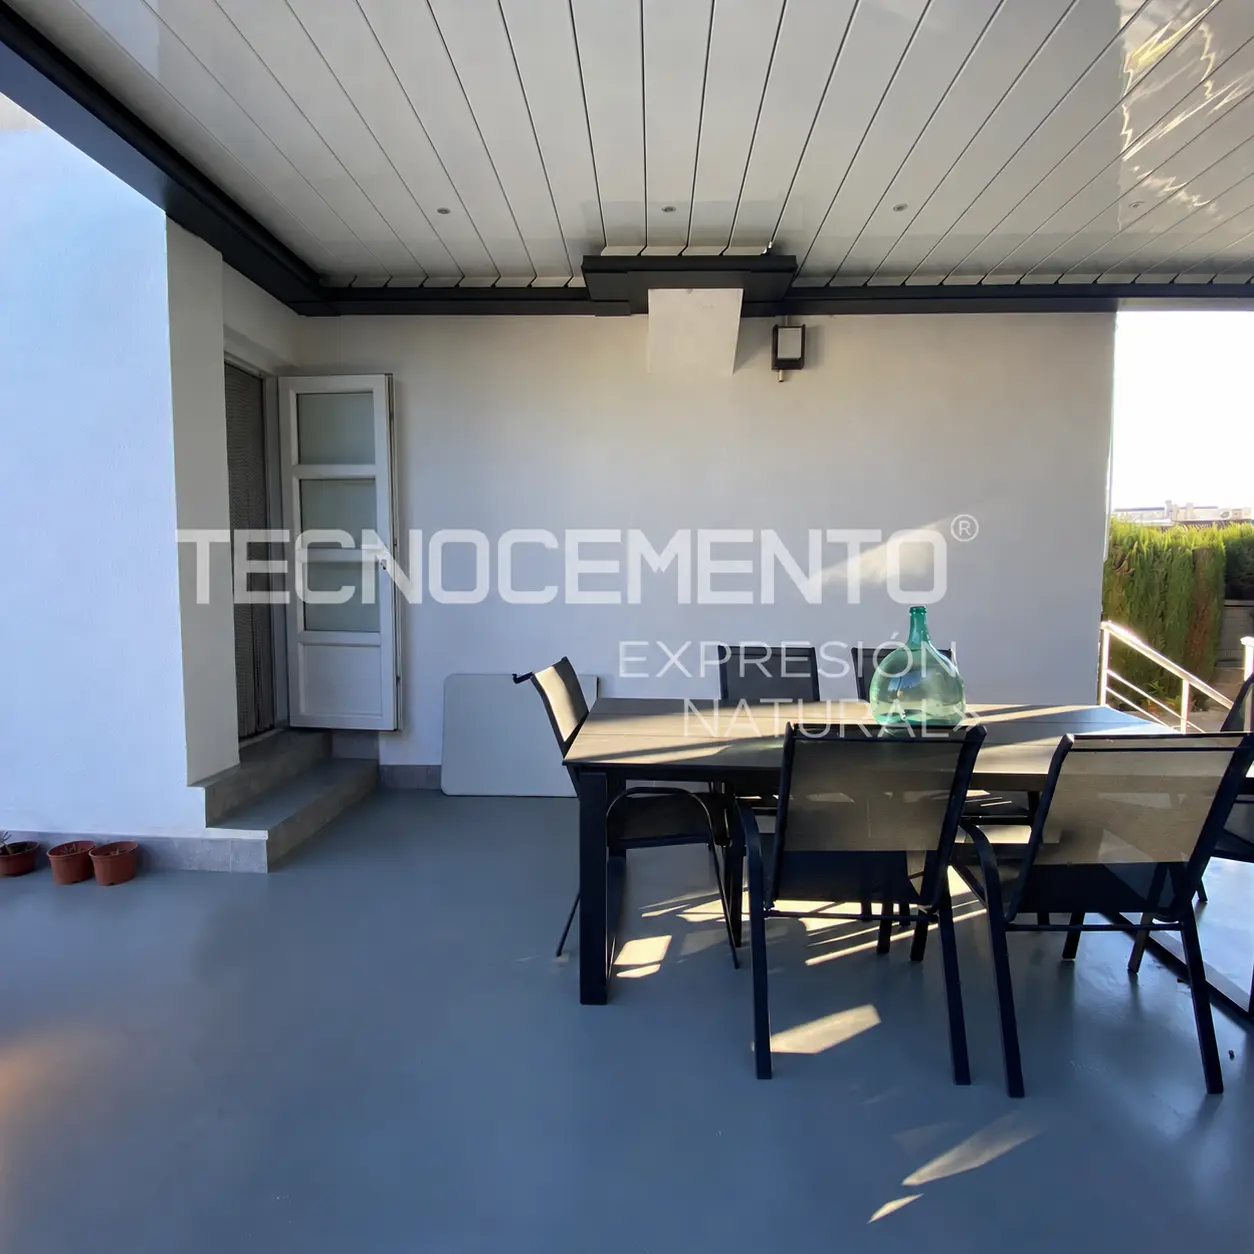
Floors, walls and ceilingsWhat changes with each surface.
How do you apply microcement on floors?
Mesh, foot traffic and order of work.
The five steps are the same throughout the house; what changes is the substrate, the system and a few precautions. Floors are where the mesh pays off most and where the sealer works hardest. Skirting boards and door and window frames are protected, and the order of work is planned so nobody walks on what has just been laid.
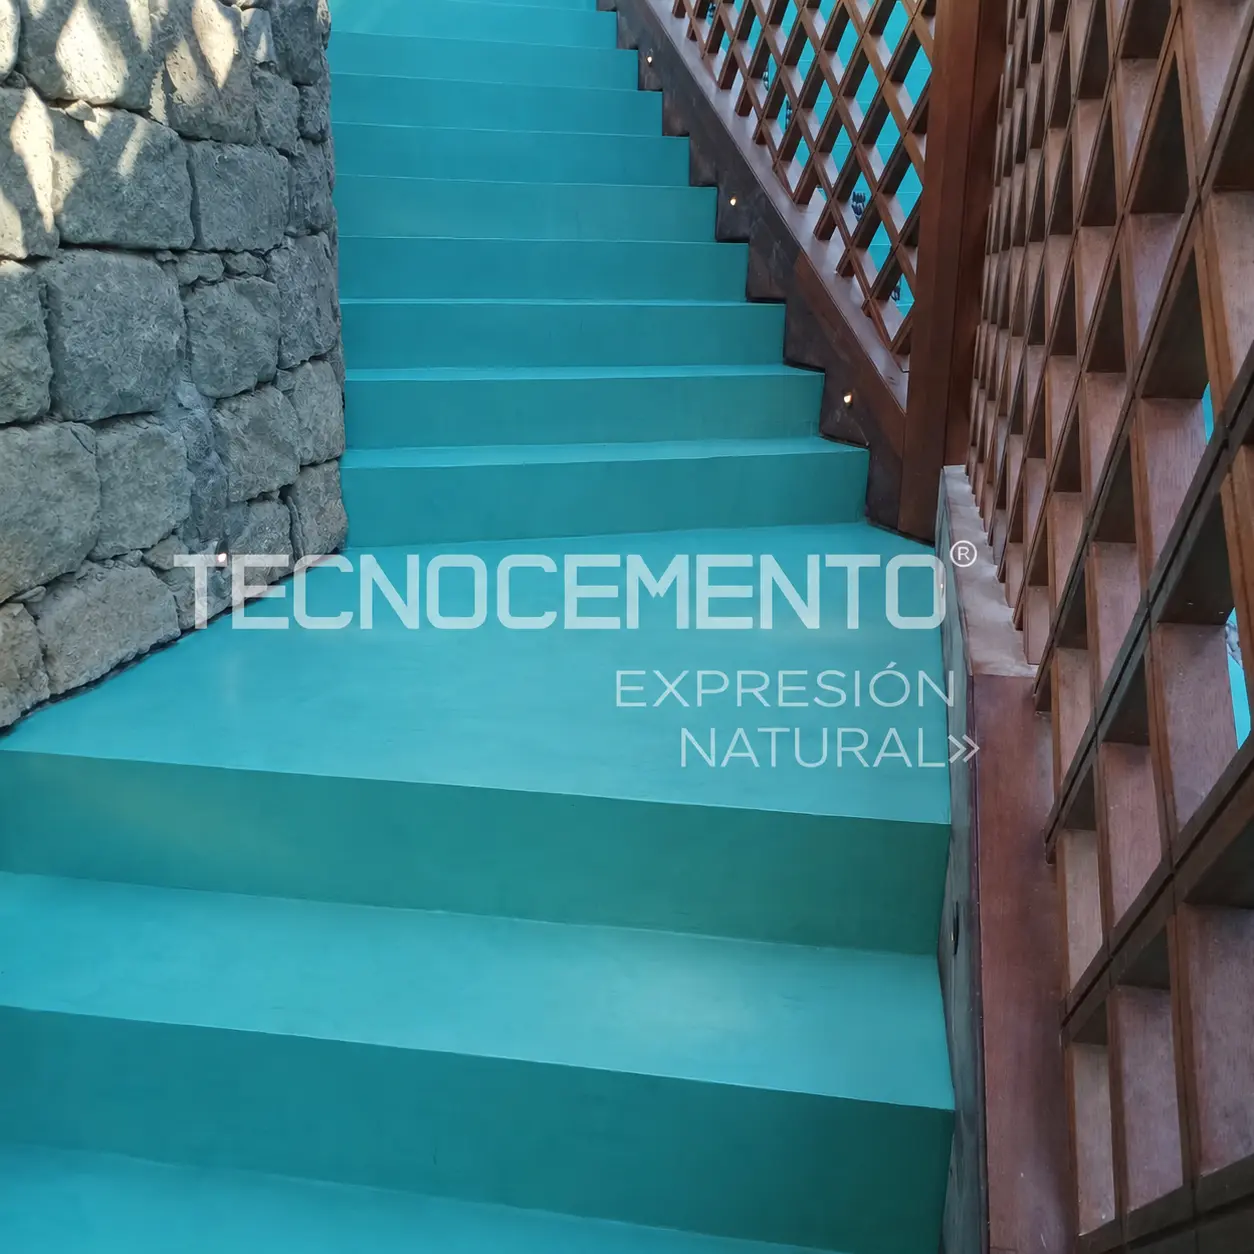
Tecnocemento plus® adds 2 to 3 mm and withstands moderate foot traffic with ACABADO FORTE PLUS, which means the old floor can be covered without lifting it. For heavy traffic there is Tecnocemento high transit®.
How do you apply microcement on walls?
Under 2 mm on a flat wall.
On a vertical surface, trowel marks are far more visible in raking light. For very flat interior walls, such as plaster, plasterboard or MDF, there is a dedicated system, Tecnocemento home: CONSOLIDADOR, two coats of fino with no base, PRIMER and ACABADO, with a total thickness under 2 mm. It is not used in wet areas.
How do you apply microcement on ceilings?
Against gravity, facing the light.
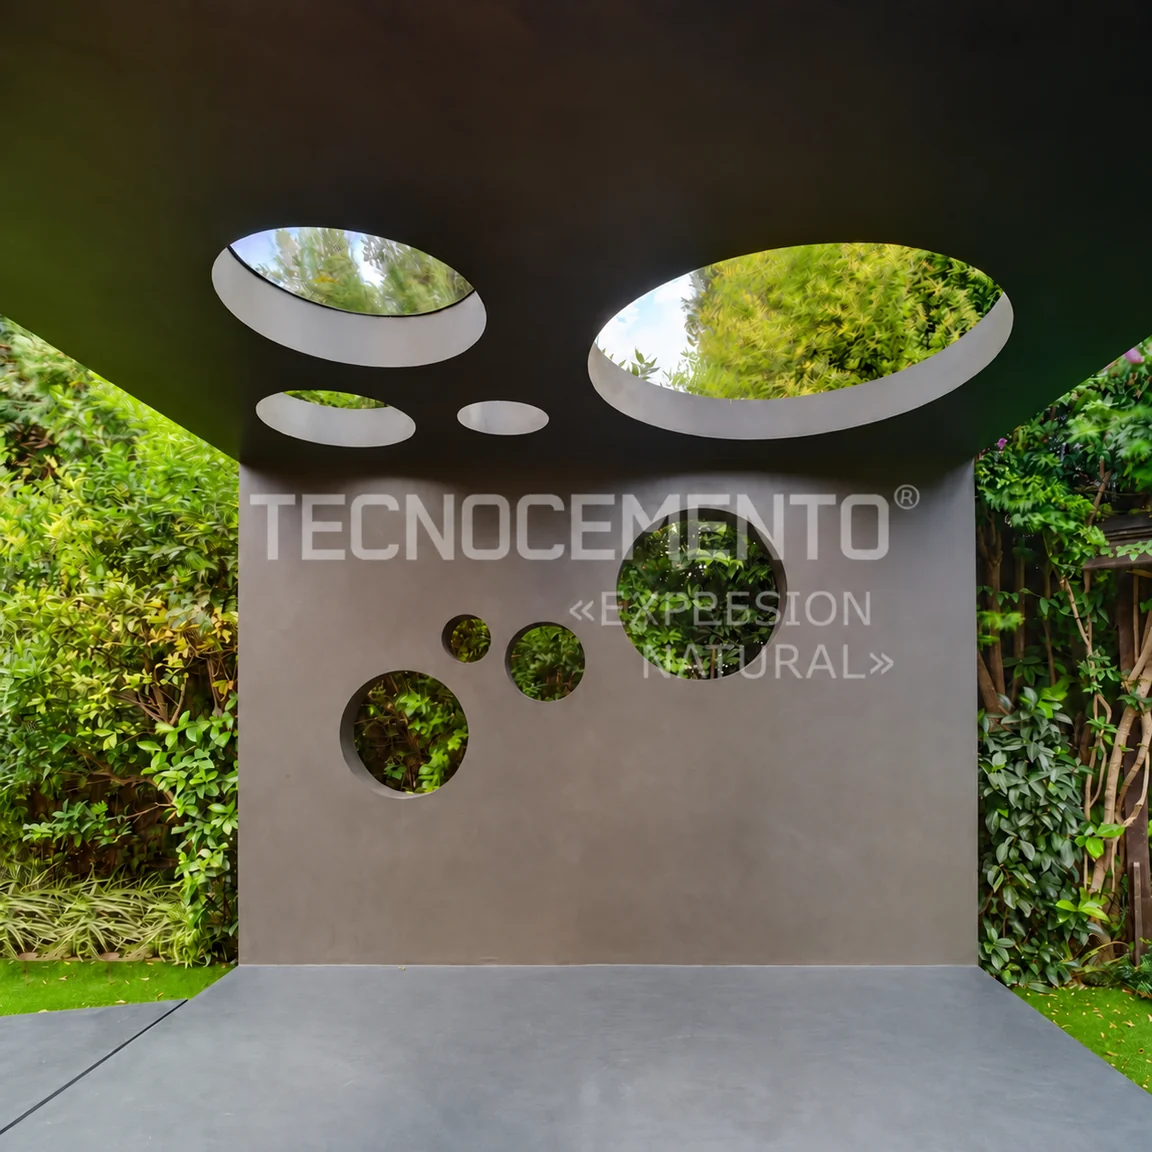
The order is the same, but the applicator works against gravity, with the light from the windows giving away any uneven trowel marks. On plasterboard, the joints between boards are treated before starting: that is where a ceiling cracks years later. On plasterboard, the system is Tecnocemento home, the same as on very flat walls.
Over tiles and in bathrooms?
Cover the tiles without stripping out, with the system made for water.
It is the most sought-after renovation: covering a bathroom without removing the tiles. Tecnocemento plus® is not recommended in areas exposed to direct contact with water, even when protected with ACABADO FORTE PLUS. In showers, shower trays and walls next to the basin, Tecnocemento imper® is used, with two coats of PRIMER and two of ACABADO FORTE PLUS.
Which system is used on each project?
Seven systems, one craft.
| System | Where it is applied |
|---|---|
| Tecnocemento home | Very flat interior walls (plaster, plasterboard, MDF) and plasterboard ceilings. Under 2 mm. Not in wet areas. |
| Tecnocemento plus® | Floors and walls over terrazzo, floor tiles, wall tiles or self-levelling compound. 2-3 mm. Not in areas with water. |
| Tecnocemento imper® | Bathrooms and showers, also façades and terraces. 2-3 mm. |
| Tecnocemento high transit® | Floors with very heavy traffic. |
| Tecnocemento industry® | Industrial look, indoors and outdoors. |
| Tecnocemento pool | Swimming pools, permanent immersion. |
| Tecnocemento vintage | Aged patina on floors and panels. |
Consumption, times and conditions for each system are in the technical data sheets. If you are looking for where it is applied and who does it, you will find it on the microcement application page.
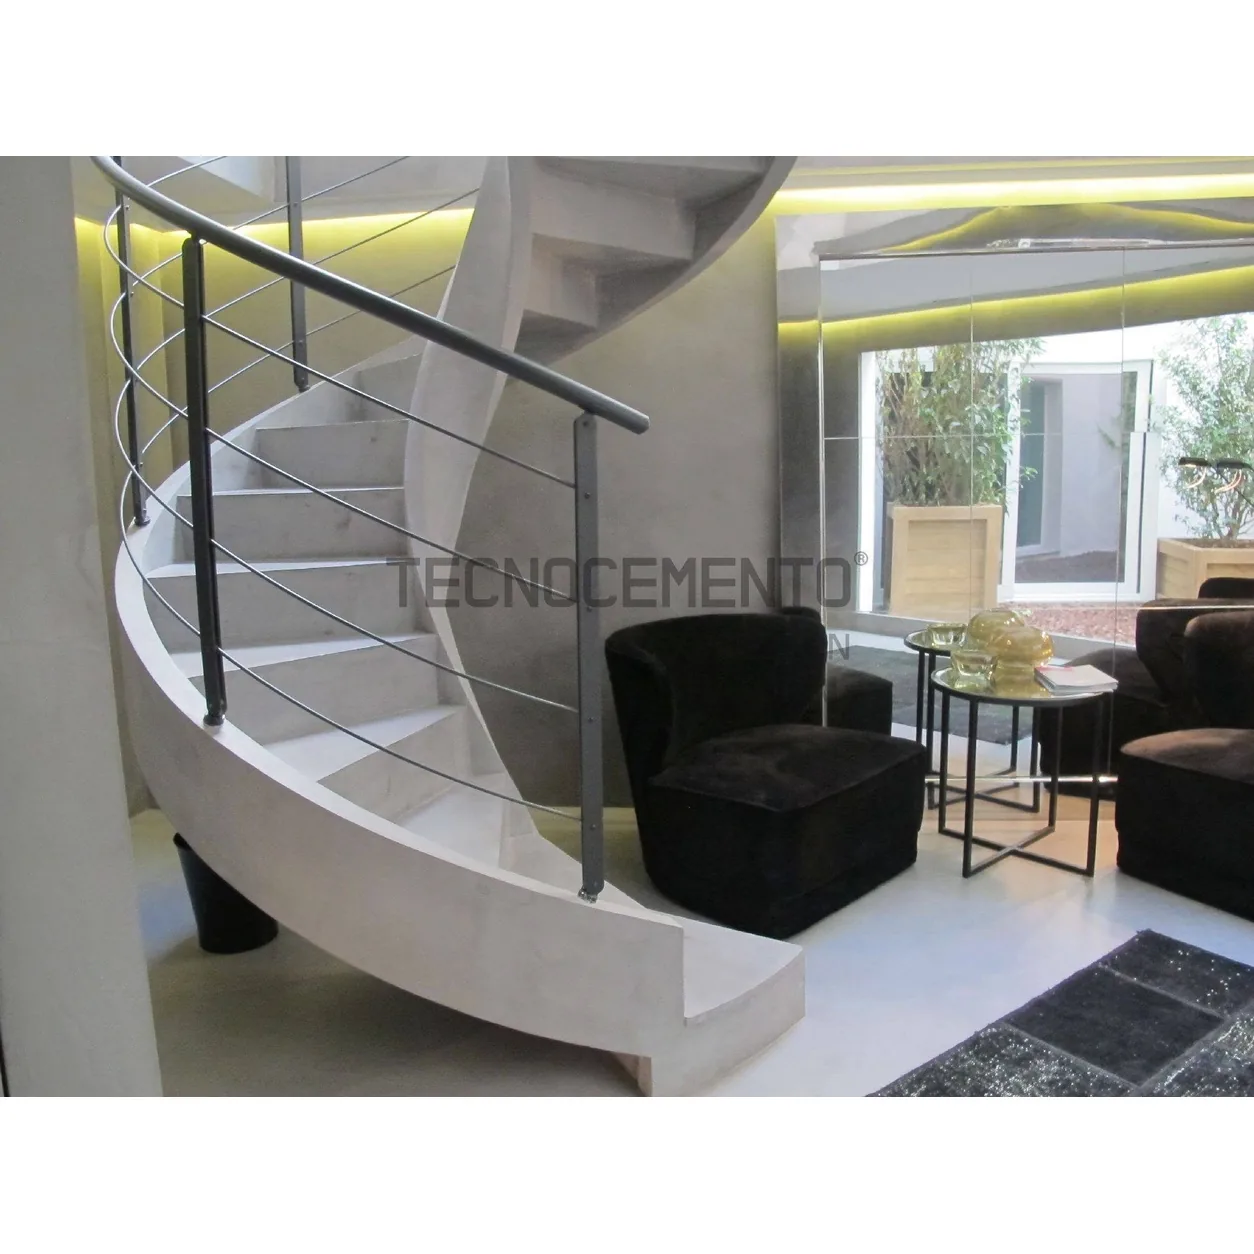


For those who never pick up a trowelHow to check your applicator’s work.
Seven moments to watch
You don’t need to be in the trade.
Just look and ask at the right moment:
- Before starting: has the applicator tapped the tiles and checked for moisture?
- On day one: are frames, sanitaryware and skirting boards protected?
- When mixing: does the applicator measure powder and resin, or judge them by eye?
- Between coats: does the applicator wait and sand, or apply coat after coat on the same day?
- Before sealing: does the applicator allow 72 hours after the last coat?
- At the end: are you told which sealer was used, how many coats and when to recoat it?
- Always: can they show you a project of theirs finished years ago?
When an applicator has their first project approved by us, we give them a stamp with their initials so they can sign their work, as master stonemasons once did.
Whoever signs their work answers for it.
Frequently asked questions
What people ask most about applying microcement.
How many coats does microcement need? In Tecnocemento plus®, four coats of microcement: two base coats and two fino coats. Before them, one coat of CONSOLIDADOR; after them, one or two of PRIMER and two of ACABADO FORTE PLUS. Tecnocemento home has no base: just two coats of fino.
How thick is it? Between 2 and 3 mm in Tecnocemento plus® and Tecnocemento imper®, the systems for floors and bathrooms. In Tecnocemento home, for very flat walls, under 2 mm. That is why there is no need to alter doors or shower trays.
How long does it take to dry? 4 to 6 hours between coats, at least 12 hours between base and finish, and 72 hours from the last coat to sealing. It can be walked on carefully 12 hours after sealing; furniture can go back and normal use resumes after 48 hours. Cold and damp lengthen every stage.
How long does it last? The coating, properly applied over a sound substrate, has no expiry date. What wears is the sealer, which is reapplied according to how much each area is used.
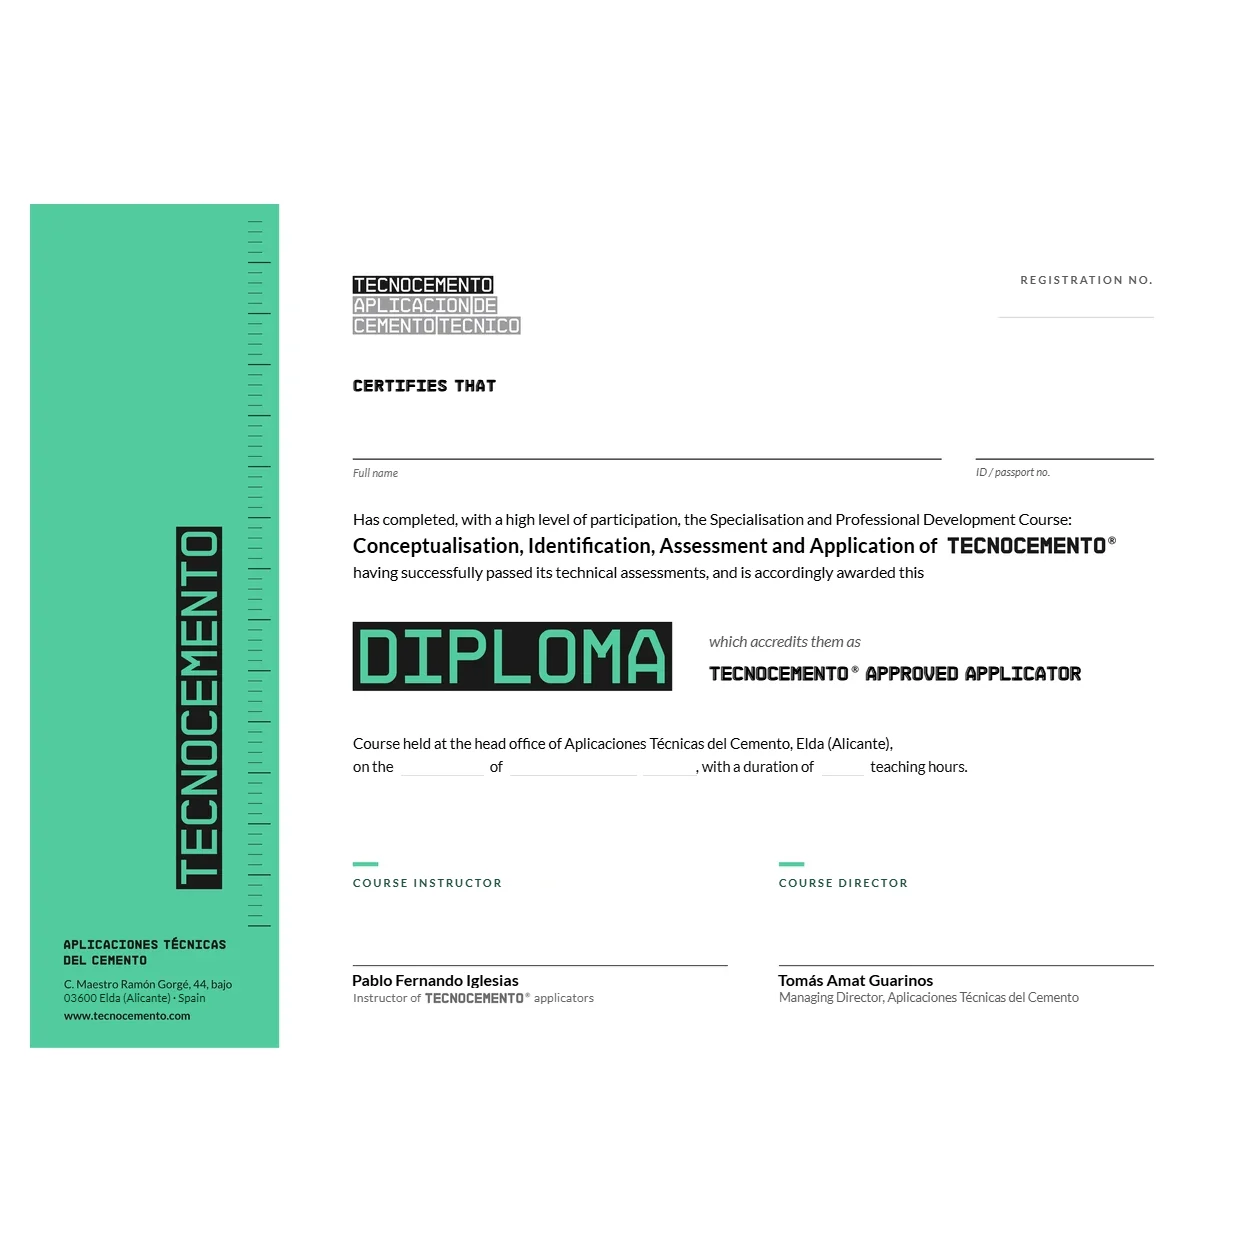
Can I apply it myself? Two-component microcement requires precise mixing, control of timings and command of the trowel. That is why Tecnocemento® is sold to trained, approved applicators, not to the public. If you are a professional, we run courses in Elda and at your company.
Microcement application courses
Does it always need mesh? No. The data sheets list it as an option in the first base coat. The applicator includes it when the substrate is at risk of movement or cracking, which is common on floors.
The bucket is only 20%Tell me what is underneath.
Two-component microcement is not poured: it is built by hand, coat by coat, over a substrate someone has checked first. If you understand how to apply microcement, even if you will never pick up a trowel, you will know what to ask and whom to ask.
Tell us about your project and we will put you in touch with an approved applicator
Are you an applicator? Microcement application courses
Certifications and technical data sheets
Head office in Elda · Alicante, Spain
Calle Maestro Ramón Gorgé, 44 · 03600 Elda